Creating an epoxy resin lamp is a fun, rewarding DIY project that blends creativity with functionality, resulting in a unique glowing piece for your home. Research suggests these lamps, often inspired by natural elements like wood and swirling colors, can add a mystical touch to any space, but success depends on proper materials and techniques to avoid common issues like bubbles or uneven curing.
Key Points:
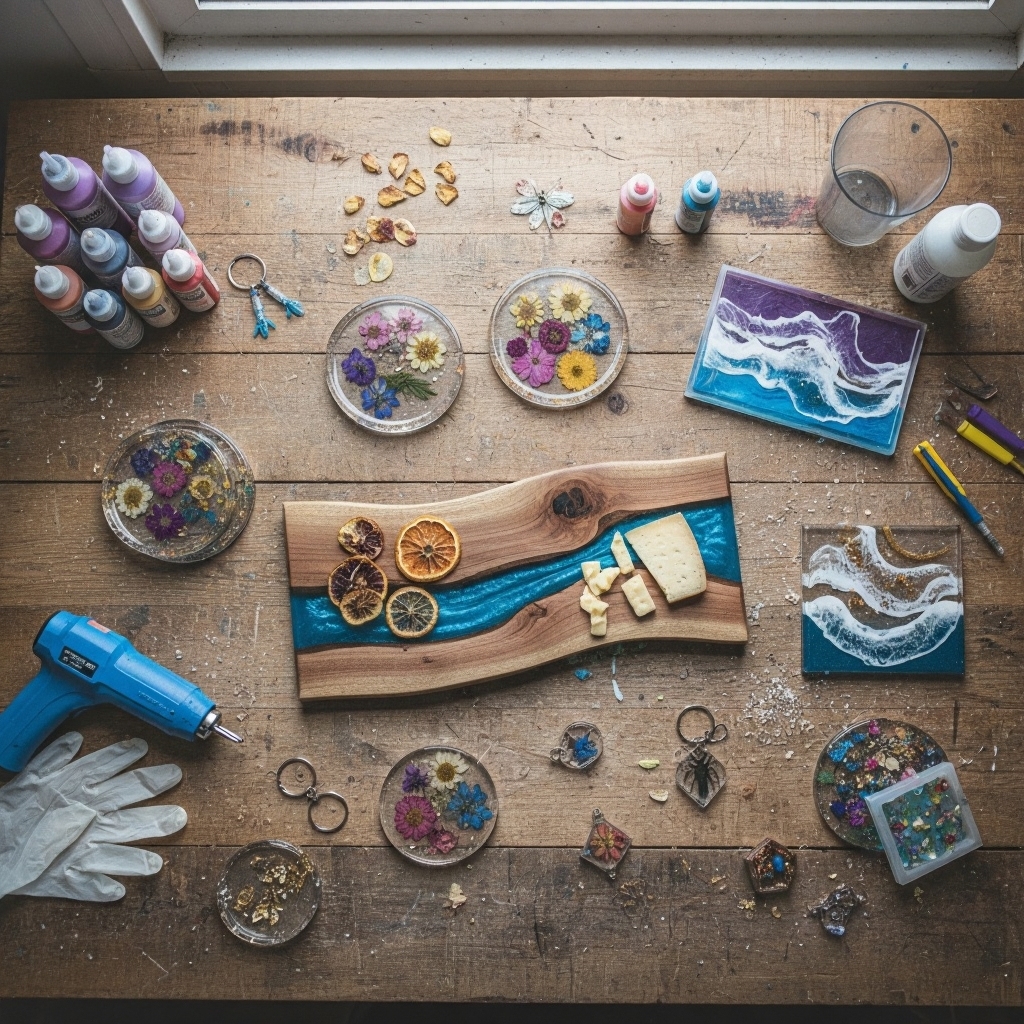
- Essential Materials: Start with deep-pour epoxy resin, dry wood (like burl or oak), silicone molds, pigments, LED lights, and safety gear—nitrile gloves, glasses, and a respirator—to ensure safe handling.
- Core Steps: Prepare and seal wood, mix resin accurately (e.g., 2:1 ratio), pour with colors, remove bubbles using a heat gun, cure for 24-72 hours, then sand and polish for a crystal-clear finish.
- Potential Challenges: Common pitfalls include incomplete mixing leading to weak spots or improper curing; always measure by weight or volume per instructions and work in ideal temperatures (70-75°F).
- Customization Tips: Experiment with RGB LEDs for color-changing effects or embed elements like dried flowers for personalization, but seal porous items to prevent air leaks.
- Safety and Best Practices: Work in ventilated areas; evidence from craft tutorials leans toward using UV-stabilized resin to avoid yellowing over time.
Why Make Your Own Epoxy Resin Lamp?
DIY epoxy resin lamps offer endless customization, from forest-inspired designs to galaxy swirls, and they’re more affordable than store-bought versions on Etsy (often $50-200). Beginners can start simple, while experienced crafters add advanced features like Bluetooth-controlled lights.
Materials You’ll Need
Gather these items for a smooth process—prioritize quality to minimize errors.
- Safety Gear: Nitrile gloves, safety glasses, respirator mask with vapor cartridges.
- Core Components: Deep-pour epoxy resin (low viscosity for thick layers), hardener, unique wood piece (dry burl, walnut, or oak to avoid moisture issues).
- Mold and Additives: Silicone mold or DIY box (melamine/acrylic sealed with caulk), pigments (mica powders or alcohol inks), mold release spray.
- Lighting: Low-heat LED base or RGB strip (USB-powered for safety).
- Tools: Mixing cups/sticks, digital scale, heat gun/torch, level, sandpaper (80-2000 grit), polishing compound, microfiber cloth, wood finish (e.g., oil or wax).
For detailed sourcing, check sites like Amazon or craft stores—expect to spend $50-100 for a basic setup.
Quick Step Overview
- Seal wood with thin epoxy coat.
- Set up mold and secure wood.
- Mix resin precisely and add colors.
- Pour, pop bubbles, and cure.
- Demold, sand progressively, polish, and assemble with LED base.
With practice, you’ll create professional-looking results; many tutorials emphasize patience during curing to achieve bubble-free clarity.
Crafting a Stunning Epoxy Resin Lamp: The Ultimate DIY Tutorial
Epoxy resin lamps have surged in popularity as captivating home decor items, blending natural wood grains with translucent, glowing resin to create functional art pieces that evoke mystical forests, swirling galaxies, or abstract designs. Inspired by viral Pinterest and Etsy trends, these lamps not only illuminate spaces but also serve as personalized gifts or statement pieces. This comprehensive guide draws from expert tutorials and common practices to help you make an epoxy resin lamp from scratch, whether you’re a beginner tackling your first resin project or a seasoned DIYer experimenting with advanced techniques. We’ll cover materials, step-by-step instructions, troubleshooting, SEO-optimized tips for sharing your creations, and more—ensuring your lamp turns out crystal-clear and durable.
The Appeal of DIY Epoxy Resin Lamps
Making an epoxy resin lamp is more than a craft; it’s a therapeutic process that combines woodworking, resin art, and electronics. According to craft communities on platforms like Reddit and YouTube, these projects allow for endless creativity—embed LED lights for a night lamp effect or add pigments for vibrant colors. Costs are low (under $100 for basics), and the result is a unique item that can last years with proper care. However, as with any resin work, precision is key to avoiding issues like yellowing or cracking, which stem from poor mixing or environmental factors.
Essential Materials and Equipment for Epoxy Resin Lamps
Before starting, assemble high-quality supplies to ensure safety and success. Below is a detailed table comparing key items, based on recommendations from tutorials like those on Resin-Expert and Instructables.
| Category | Item | Description | Why It’s Essential | Approximate Cost | Tips for Selection |
|---|---|---|---|---|---|
| Safety Gear | Nitrile Gloves | Disposable or reusable gloves to protect skin. | Prevents irritation from resin chemicals. | $5-10 | Choose powder-free for clean work. |
| Safety Gear | Safety Glasses & Respirator | Goggles and mask with organic vapor filters. | Shields eyes and lungs from splashes and fumes. | $15-30 | Opt for NIOSH-approved masks. |
| Resin Components | Deep-Pour Epoxy Resin | Low-viscosity casting resin (e.g., 2:1 mix ratio). | Allows thick pours without overheating or bubbles. | $30-60 (1 gallon kit) | UV-stabilized to prevent yellowing; brands like ArtResin or TotalBoat. |
| Resin Components | Hardener | Paired with resin for curing. | Ensures proper chemical reaction. | Included in kits | Measure accurately—ratios vary (e.g., 1:1 or 2:1 by volume/weight). |
| Base Material | Wood Piece | Burl, walnut, oak, or driftwood (fully dry). | Provides character and structure. | $10-20 | Seal to lock in moisture; avoid wet wood to prevent bubbles. |
| Mold & Additives | Silicone Mold | Pre-made cube/cylinder or DIY box (melamine sealed with caulk). | Shapes the lamp; flexible for easy demolding. | $10-25 | Use release spray for non-silicone options. |
| Mold & Additives | Pigments/Dyes | Mica powders, alcohol inks, or glow-in-the-dark additives. | Adds color and effects (e.g., metallic shimmer). | $5-15 | Mix small amounts; avoid over-pigmentation for clarity. |
| Lighting | LED Base/Strip | USB-powered RGB LEDs or fairy lights. | Provides safe, low-heat illumination. | $10-20 | Choose dimmable or app-controlled for versatility. |
| Tools | Mixing Cups & Sticks | Silicone or plastic for resin blending. | Ensures thorough mixing without waste. | $5-10 | Reusable silicone reduces cleanup. |
| Tools | Digital Scale & Heat Gun | Scale for ratios; gun/torch for bubbles. | Precision mixing; bubble removal for clear finish. | $15-25 | Heat gun preferred over torch for beginners to avoid scorching. |
| Finishing | Sandpaper & Polishing Compound | Grits 80-2000; compound for shine. | Smooths and polishes surfaces. | $10-15 | Wet-sand higher grits; use microfiber cloth. |
| Finishing | Wood Finish | Oil or wax (e.g., Odie’s Oil). | Enhances wood grain and protects. | $10-15 | Apply after polishing for pop. |
Sourcing from reliable sites like Amazon or craft suppliers ensures compatibility. Total setup: $100-200 for a first-time project.
Step-by-Step Guide to Making Your Epoxy Resin Lamp
Follow this detailed process, adapted from expert sources like Baltic Day and Hirosart tutorials, for a professional result. Ideal room temperature: 70-75°F (21-24°C) for optimal curing.
- Prepare the Wood: Clean off dirt, bark, or lichen using a brush or compressor. Cut to size with a band saw if needed. Seal all surfaces with a thin epoxy coat (mix a small batch) to trap air and prevent bubbles. Cure for 24 hours.
- Build or Set Up the Mold: For a custom shape, assemble Plexiglas or melamine into a box, sealing edges with hot glue or silicone. Place sealed wood inside, securing with glue to prevent floating. Ensure the mold is level and dust-free.
- Mix the Epoxy Resin: Weigh resin and hardener per instructions (e.g., 100g resin to 44g hardener for 2:1 by weight). Stir slowly for 3-5 minutes in one cup, then transfer to a second cup and stir again to avoid unmixed spots. Introduce air minimally to reduce bubbles.
- Add Colors and Pour: Divide resin into cups for multi-color effects. Stir in pigments evenly. Pour slowly into the mold around the wood, layering colors for swirls. For embeds like flowers or lights, add them mid-pour.
- Remove Bubbles: After 5-10 minutes, sweep a heat gun or torch over the surface (4-6 inches away) to pop rising bubbles. Repeat if needed, but avoid overheating.
- Cure the Resin: Cover to block dust and cure for 24-72 hours (check resin specs). Use a degasser if available for bubble-free results. Avoid disturbing during this phase.
- Demold and Shape: Gently remove from mold. Trim excess with a saw if needed. Sand starting at 80 grit to flatten, progressing to 2000 grit (wet-sand finals) for smoothness.
- Polish and Finish: Buff with polishing compound until hazy resin turns glossy. Apply wood oil/wax to exposed areas for protection and vibrancy.
- Assemble the Lamp: Drill a base hole for LED wiring. Glue or epoxy the light in place (use silicone for flexibility). Connect USB or add a Bluetooth module for RGB control. Test the glow!
@amazingtrungx.com The Dark Side… reimagined in resin ⚡ Handmade Darth Revan Lamp — built with fire, frozen in light. #resinart #StarWars #gamingroomdecor #HandmadeGift
Common Mistakes and How to Avoid Them
Here are pitfalls and fixes:
- Incomplete Mixing: Leads to soft spots or no cure. Solution: Stir 5+ minutes, scrape sides, and use two cups.
- Inaccurate Ratios: Causes sticky or brittle resin. Solution: Use a digital scale; follow volume/weight per brand.
- Bubbles and Flash Curing: From fast mixing or hot environments. Solution: Mix slowly, use deep-pour resin, and maintain 70-75°F.
- Wood Moisture: Releases air into resin. Solution: Dry wood fully and seal beforehand.
- Yellowing Over Time: UV exposure. Solution: Choose UV-resistant resin and store away from sunlight.
- Overheating LEDs: Use low-heat options; avoid mica powders with lights as they block glow.
Advanced Tips and Variations
- Customization Ideas: Embed fairy lights for a diorama effect. Add glow powder for dark-room magic.
- Troubleshooting: If resin stays tacky, remix ratios; for cracks, pour in layers (max 2-5 inches per pour).
- Maintenance: Clean with a damp cloth; avoid abrasives. Lamps last 5+ years with care.
This guide equips you to create a breathtaking epoxy resin lamp—experiment boldly, and your home will shine with your unique artistry.