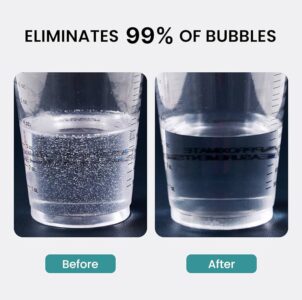
Air bubbles are a normal part of working with epoxy resin. During mixing and pouring, some trapped air will always rise to the surface. The good news is that removing bubbles from uncured epoxy is simple. However, removing bubbles from cured or mostly cured epoxy requires more effort and usually a fresh coating afterward.
Below are the two main methods, depending on the stage of curing.
Method 1: Removing Bubbles Before the Epoxy Hardens (Torch or Heat Gun)
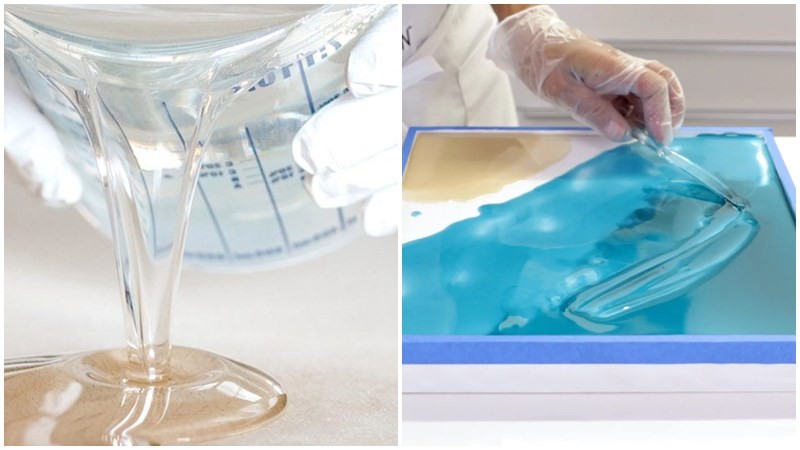
If the epoxy is still liquid, this is the ideal time to remove bubbles. After pouring your flood coat, it’s common to see small air pockets even if you applied a proper seal coat beforehand.
A propane torch is the most effective tool, but a heat gun works if you prefer not to use an open flame.
How to do it:
-
Hover the torch or heat gun a few inches above the epoxy surface.
-
Move smoothly back and forth, heating the entire surface briefly.
-
As the epoxy warms, bubbles will rise and pop.
Important tips:
-
Never linger in one spot for more than a second. Overheating can damage the epoxy and create defects that appear later.
-
Do not let the flame touch the epoxy. You only need gentle heat, not direct combustion.
-
Do not use a hair dryer. Its strong airflow can blow dust or debris into the resin.
-
Repeat after 10 minutes. Some bubbles take time to rise, so a second pass ensures a clear surface.
-
Lower your viewing angle. Looking at the surface from the side helps you spot remaining bubbles by the way they bend light.
This is the best and easiest method, but it must be done before the epoxy begins to harden.
Method 2: Removing Bubbles After the Epoxy Has Hardened (Sanding + Acetone + Recoating)
Once epoxy has cured or mostly cured, heat is no longer effective. At this point, bubbles need to be removed mechanically.
If the bubbles are close to the surface:
-
Sand the surface lightly.
-
Wipe it with acetone and let it evaporate for 30 minutes.
-
Apply a fresh seal coat to fill the small blemishes.
-
Wait 4–6 hours.
-
Apply a new flood coat over the entire surface.
If the bubbles are deep inside the epoxy:
-
Sand heavily until you’ve removed most of the flawed flood coat.
-
Wipe with acetone and wait 30 minutes.
-
Apply a seal coat and let it cure 4–6 hours.
-
Apply a second seal coat and wait again.
-
Finish with a full flood coat.
Important note
Avoid “spot fixing.” If you only recoat the small area where bubbles appeared, the final surface will be uneven. A complete flood coat is necessary to restore a smooth, uniform finish.
Final Thoughts
Removing bubbles from epoxy resin is simple when done early and manageable even after curing, as long as you follow the correct steps. Using heat during the liquid phase is the fastest and most effective approach, while sanding and recoating are necessary once the epoxy has hardened.
With the right technique and a little patience, you can achieve a flawless, glass-smooth surface every time.
Tags: Epoxy Resin, Epoxy Guides